9.29.2011

Vintage sheet bunting cards

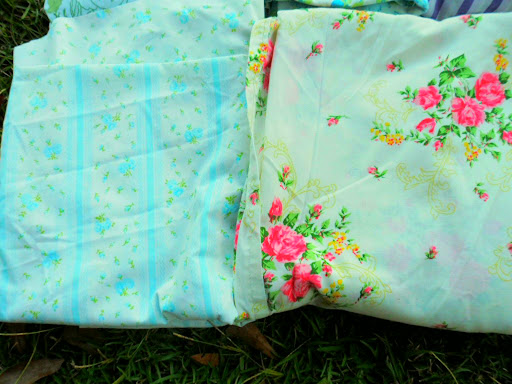
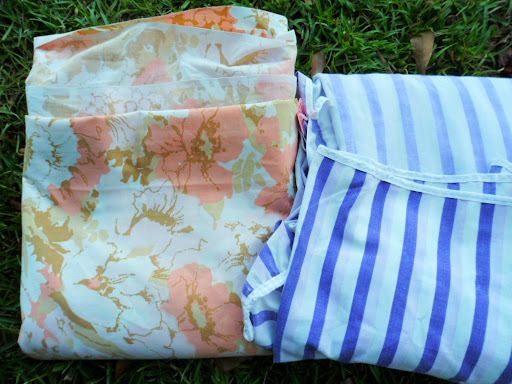
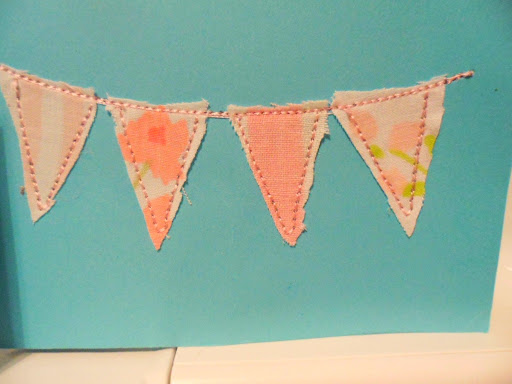
Inspired by all the vintage sheet buntings and banners on Flickr and blogland, I wanted to create my own. Now mind you, I don't possess the patience to sit down and create a full-size bunting and besides I really don't have a need for one at the moment. I did, however, think it would be cute to have a junior-sized version of those gems.

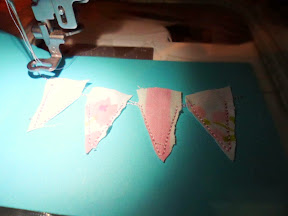
So in the midst of organizing my scraps last night, I pulled out my computer and digitized a mini bunting (after my computer crashed half a dozen times). And what better way to test out out than on some cute little note cards.

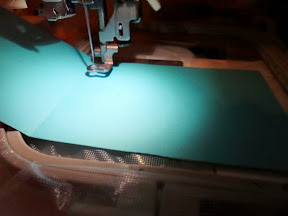
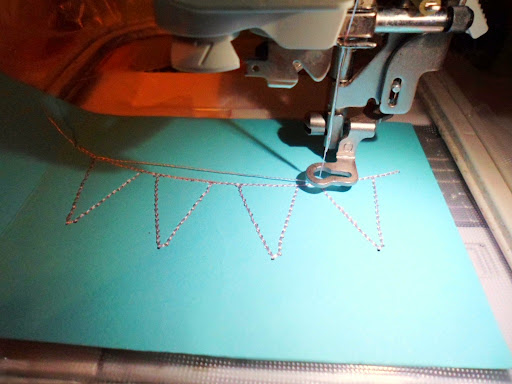
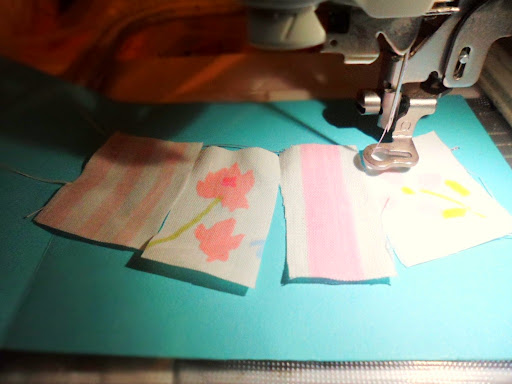
I cut some cardstock 8" by 3" and folded it in half. Then I proceeded to stitch it out.


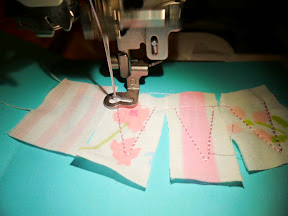
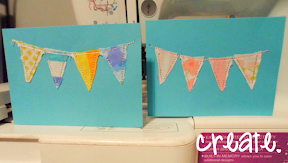
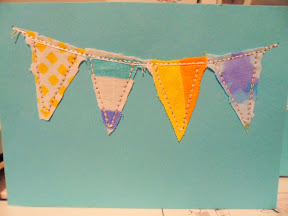
I think these are going to make great thank you cards. I also can't wait to stitch these out on pouches and wallets. I think it will be cute!


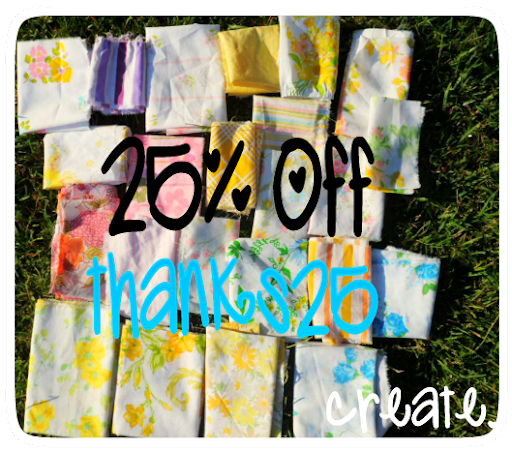
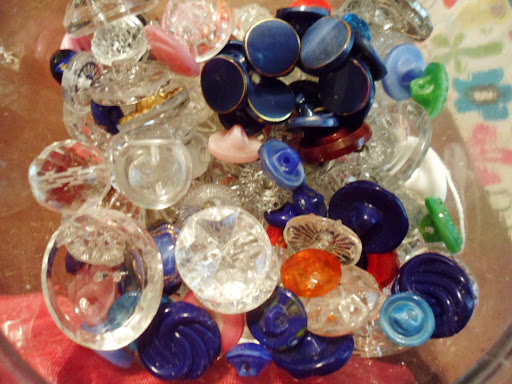
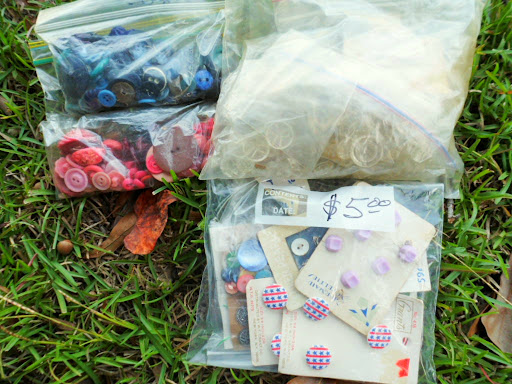
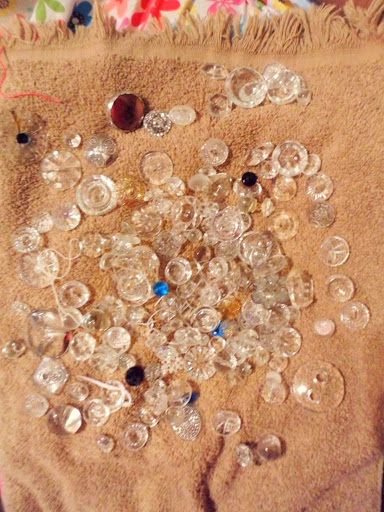
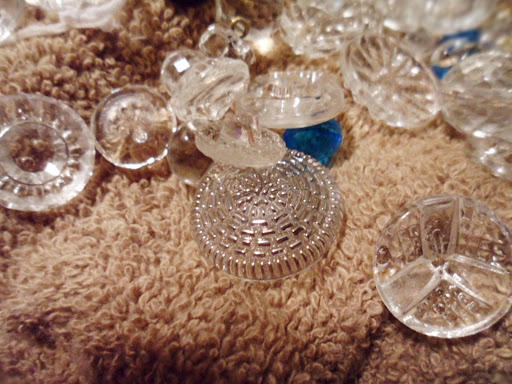
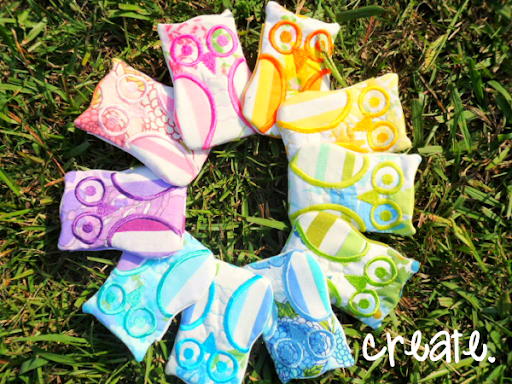
Don't forget that there is one more day left in the owl wallet giveaway, I'm hosting a vintage button swap, and I'm having a sale at my etsy shop.

Shop update


I have a "just because" sale going on at the shop. It's going on from now until Oct. 8. Take 25% off of your purchases by using the coupon code THANKS25 during checkout.

9.28.2011

Dream Shorts

I really really wanted to post these even though the pictures are HORRIBLE. So I've been working on my design skills because I really want to unleash my creativity and open my mind a tad and stop making the same bleh things. Monday when I got home from work and picking Kels up, I decided to make up a pair of shorts. I didn't sketch them up; I just sort of went with it as I started. I had some leftover chambry/denim material that I used to make a pair of denim trousers. I like the fabric because it's lightweight and a nice color. Anyway, I pulled out the fabric and sort of sketched out my pattern on it. I knew right of the bat that I wanted them to have tailore pleats, so I left room for that. Then my mind took off! I spent the next couple of hours pinning, sewing, altering, and trying on until I came up with a wonderful pair of high-waist pleated and cuffed tailored shorts. I am in LOVE! I think they are so chic and classy. They can be dressed down or up. My perfect autumn shorts!


Again I apologize for the picture quality. I'm going to repost much better photos when I get a chance to spend time snapping better ones and post them with a linen shirt that I made. Speaking of linen: I bought some mustard linen from Garment District when I went to Brooklyn last month, and I think these shorts will look fantastic in that fabric!! Anyway thanks for looking!! Have a most enjoyable day!!!

9.27.2011

Hello, Fall!

Ah, my favorite time of year is upon us! Finally! What a sweltering summer we've had. I love fall time in Alabama; actually I love Alabama's climate, but autumn makes it that much better. Fall, here, is mild and comfortable, pants or shorts weather, great for longer skirts and cardigans, not cold but not deathly humid....just right. I've been working on an autumn wardrobe for the tot, mostly consisting of skirts. Of course she loves skirts; she's such a girly girl. I've been trying to use fall like colors and textures, ya know, denim and corduroy and lightweight wool. Here are a few bottoms I have been working on for her.

paperbag corduroy skirt


I triple stitched the hem for a little decorative topstitching.


pleated denim skirt


halloween pants


I'm usually big on making seasonal themed clothing for the simple fact that it will only last for that season. But I had this fabric lying around and figured I would use it before she outgrows what I have and it be a waste. Besides I think this fabric is uber-cute! There is a yellow jersey peasant top that is going along with it that I embroidered Happy Halloween on. I just need to add elastic and the outfit will be completed.

Speaking of embroidery! I've digitized a couple of Halloween phrases for t-shirts and such. I need to upload them soon. Here they are:


I've been trying to work on my manual digitizing skills. I've actually got a lot of things that I have digitized so far. I just haven't had time to stitch them out or blog about them. I will have to get some of my machine embroidery stuff blogged about soon.

My First Swap!!


I just listed my first swap on swap-bot. It's a vintage button swap!! Go here for details!!!

9.25.2011

Thrifting 9.24.11

I went to a couple of estate sales yesterday, and then I somehow drifted into a couple of thrift stores. But I did limit myself. I only went to 2 estate sales and 2 thrift shops. So I spent a LOT. I mean more than I would ever have expected to spend at any estate sale ever, but I think my spending amount was justifiable. I spent $29 on vintage buttons alone. I know stupid, right! But wait before we judge, you have to see the buttons!! They are all vintage and most of them are clear glass!! Anyway let me get to the spoils!

At the first estate sale I didn't find very much. However I did manage to leave it with a few classic books for myself and Kels, a pair of binoculars for Kels, a pack of vintage tracing paper, a vintage Italian braided cognac leather belt with brass fixings (perfect for cardigans and dresses!), and I think that's about it. There really wasn't much there.

At the second estate sale I found a buttload of vintage buttons: glass, lucite, and carded. I also got an applique book and a brand Eddie Bauer tank top still in the packaging.


applique book and tracing paper


vintage buttons. I know it's hard to see it but there are 2 smaller sandwich bags filled with pink and blue buttons and the clear glass ones are in the quart bag.


At the thrift stores I found a few sheets, pillowcase, and some vintage fabric. I found blues that I have been looking for and picked up some I've never seen.


the one the right is my favorite; I've never seen anything like it.


vintage fabric
It's going to make a beautiful pair of shorts or skirt.


I have been working on clothes for the little one as well and some embroidery designs that I've digitized. Expect to see that showing up soon. Also expect to see more sheet packs going into the shop, seeing as I need to destash!!!

Have a wonderful Sunday!!!

9.24.2011

9.21.2011

{Giveaway} update

The owl card holder giveaway has been extended to Friday, September 30 and winner will be announced on October 1.

9.20.2011

More owls + {Giveaway}

This weekend I made a load of vintage owl keychain card holders.


Of course they are made of vintage sheets. All of them have striped wings and pockets. They will be in the shop soon.

That brings me to the giveaway. Four lucky people will win one owl card holder.
To enter: follow my blog and leave a comment on this post stating that you follow. If you already follow, then leave a comment here stating that you follow. Contest is open to US and Canada residents and ends on Wednesday, September 28. Winners will be announced Thursday.

Foot Fetish: Quilting Feet


I have been wanting to do this for quite some time now: create a little how-to series on different presser feet. Let's get started!


Tonight I will be discussing different types of feet that can be beneficial to the quilting process.


{all purpose foot}


This foot comes with your machine and is a very general presser foot. It can stitch zigzag lines, straight lines, and also a number of decorative stitches.


{1/4 inch quilting foot}


This particular foot has dual purposes: it can sew a quarter inch seam and an eighth of an inch seam. Impressive, huh?


By lining your fabric up to the right edge of the foot, you will create a 1/4 inch seam. It's perfect for piecing fabrics or if you just like to sew with smaller seams as I do.


By lining your fabric up to the left side of the foot, you will create 1/8 inch seam. This is great for topstitching, edgstitching, and stitch-in-the-ditch quilting.


{quilting guide}


This is also know as a quilter. It is not a presser foot, per se, but an aid to your presser feet. It is simple an angled bar that you place in the master bracket (ankle that holds that you lock your feet into) and can adjust by sliding left and right.


holder for quilter


Simply line up the quilter to one of the inch/centimeter markings that you would like to use, place the edge of the fabric to this line, and sew. To sew the next line, place the previously stitched line to the quilter and stitch. Easy peasy!


{walking foot}


Also known as even-feed foot. It evenly feeds the top layer and the bottom layer of fabric at the same time, resulting in evenly sewn layers. This feat makes it great for quilting quilt tops with batting and sewing tricky fabrics vinyl, oilcloth, and leather.


The quilter can also be used with the walking foot. I used a thin piece of batting and quilted this sample piece and nothing shifted while sewing.


Also I used it to sew together two pieces of oilcloth, and I didn't have to worry about skipped stitches, slipping, or shifting. If you're sewing vinyl; leather; or oilcloth, remember to use a longer stitch than you would use for sewing natural fibers and do not pin.


{free-motion embroidery foot}


This foot can be used to darn, free-motion quilt, and free-motion embroider.


(Disclaimer: I am NO free motion quilter, embroider, anything. So my "quilting," if you will, does look horrible. My apologies.)

The feed dogs need to either be covered of lowered on your machine so that your machine won't want to keep feeding your project backwards as you are stitching.

That concludes the session I have today. I will be back soon with another portion of this series soon. Thank you for stopping by! Have a wonderful day!!!